Before you get started, it’s important that you make sure you’re logged out of any Microsoft accounts.
An even better way is to use an Incognito browser window (or possibly Private or inPrivate, depending on your browser). That will make sure you aren’t logged in to any accounts when you start this process.
- Go to Get Teams for free and choose the Sign up for free button. If you don’t see the Sign up for free button, scroll down (nearly to the bottom of the page) to Get Microsoft Teams for your organization today, and then select Sign up for free.
Enter the email address you want to use with Microsoft Teams Free (classic).
- On the next screen, answer the question about how you want to use Teams.
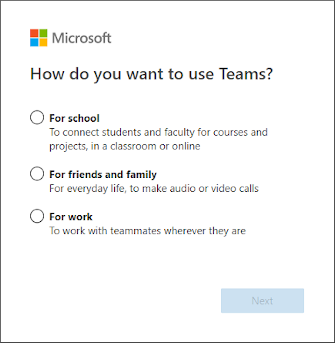
- If you choose For school, you’ll be prompted to enter your school email address to see if you have access to Teams through your school. If you choose For friends and family, you’ll be directed to sign up for Skype.
If you choose For work, you can continue to Step 4. - You’ll be asked to verify your information again in this step. If you have multi-factor authentication enabled, you may be prompted on your phone. Otherwise you’ll need to provide your password here.
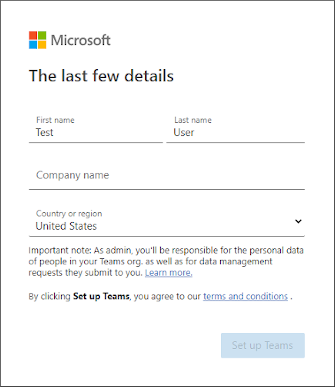
- After that, fill in your name and the other requested info, and then click Set up Teams.
- Then wait patiently while Microsoft creates your Teams account and then sets it up for you to use. (This process can take up to a minute. You’ll see two loading screens.)
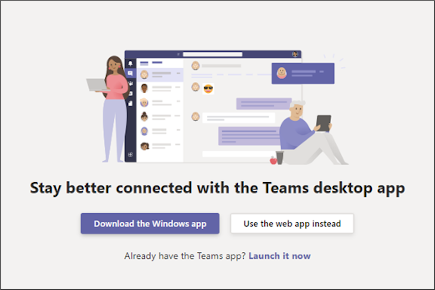
- Finally, you’ll be prompted to download the Teams desktop app or use Teams web app.
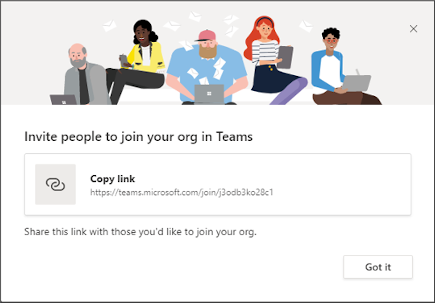
- When you start using Teams, you’ll be prompted to invite others to join your Teams org. People that you invite will notneed to go through this process. They can simply join your Teams org.
Wondering how to get back to Teams Free (classic)? Go here to start using Teams Free (Classic). After you complete the sign-up process, you’ll also receive an email link that will take you back to Teams whenever you want.